
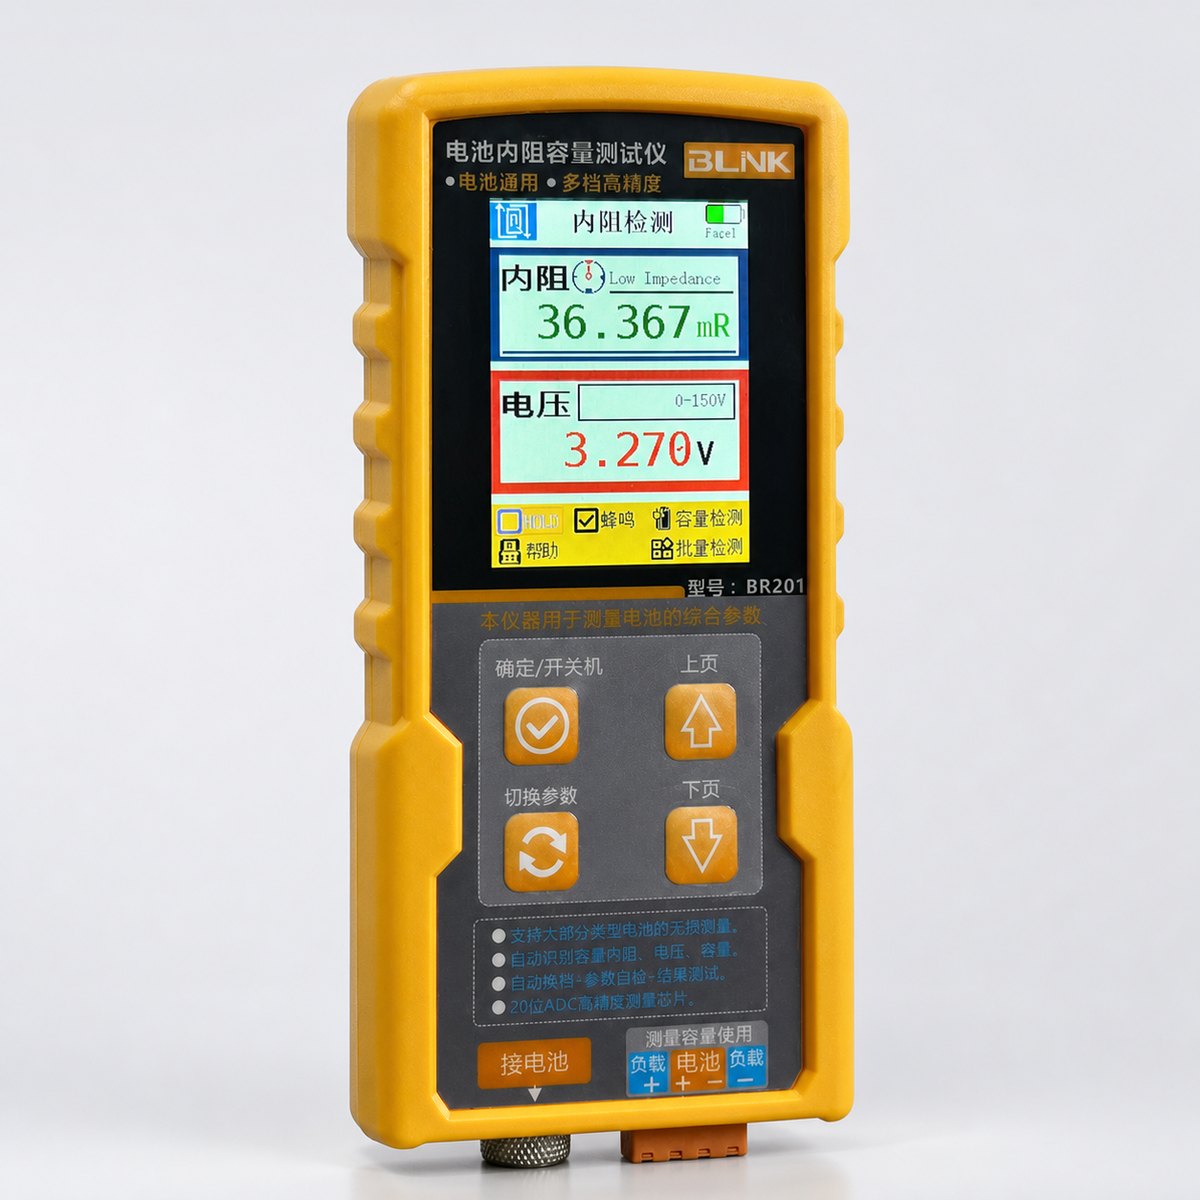
四线开尔文 · 内阻 + 容量
4-wire Kelvin · IR + capacity
核心特点(说明书)
Core features (manual)
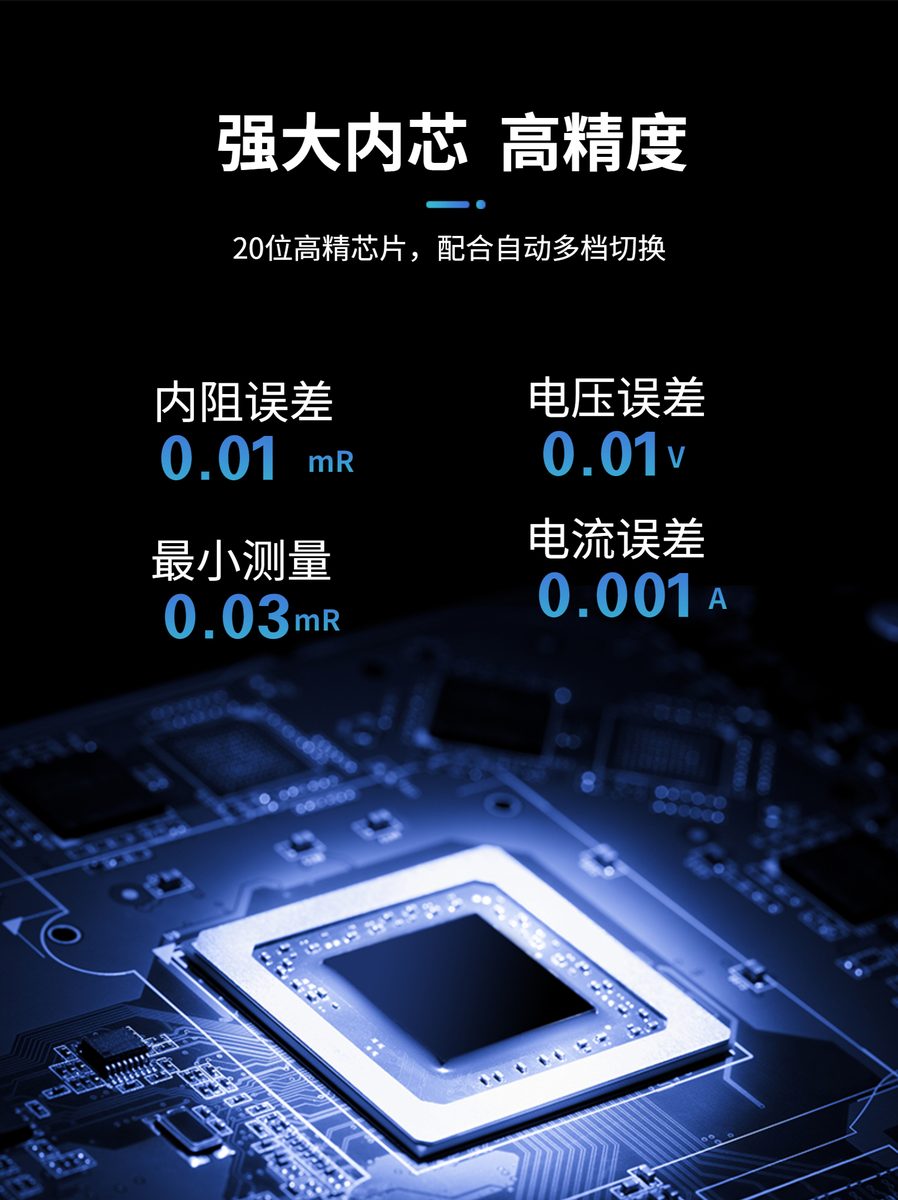
- 高精度自动多挡测量:内阻挡位自动切换,精度 0.1%
- 宽电压范围:0~150V,单体到电池组都能测
- 快速响应:接触即读,适合流水线节拍
- 批量测试:设定内阻与电压双阈值,快速筛选合格电池
- 内置控制芯片:防止电池过放过充
- 电池容量测量:充电法或放电法记录,0~999999mAh
- 支持测量曲线:机内查看数据变化趋势
- Auto-ranging precision: IR ranges switch automatically, 0.1% accuracy
- Wide voltage range: 0~150V, from single cells to packs
- Fast response suits production-line pacing
- Batch screening with IR and voltage thresholds
- Built-in control chip prevents over-discharge and overcharge
- Capacity measurement by charge or discharge, 0~999999mAh
- On-device curves to review data trends
主要电气参数(摘录自说明书)
Key specs (from manual)
| 内阻量程IR ranges | 0~200mΩ / 0.2~1Ω / 1~200Ω,精度 0.1% |
|---|---|
| 电压测量Voltage | 0~150V,精度 0.1% |
| 电流测量Current | 0~15A,精度 0.1% |
| 容量记录Capacity log | 0~999999 mAh |
| 充电供电口Charge port | 5V / 500mA |
| 标准配件Kit | 主机、开尔文夹、说明书、充电线 Unit, Kelvin clips, manual, charge cable |
注:表格行为在「亏电停止 / 满电停止」阈值之间才会导通容量测量;批量测试需先在参数页设定内阻上限与电压下限。完整操作以 PDF 为准。
Capacity paths require voltage between discharge/charge stop thresholds; batch mode needs IR and V limits configured first. Follow the PDF for full procedures.
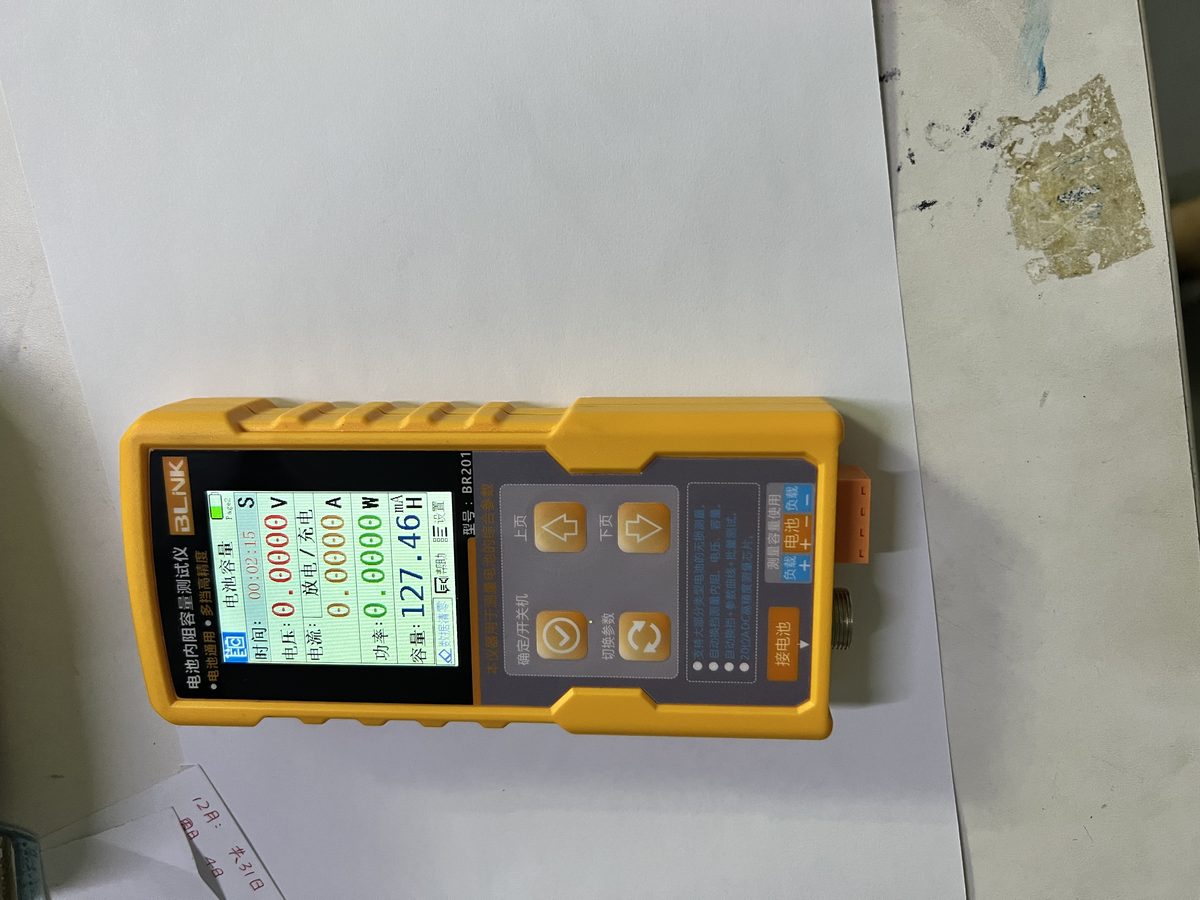
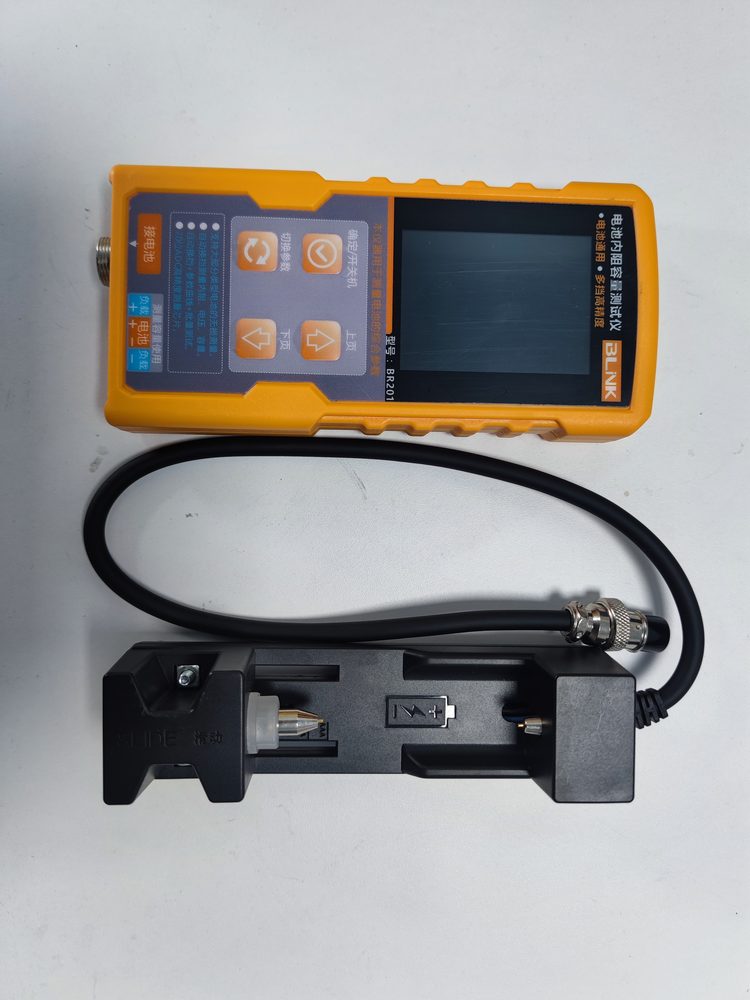
机身与细节
Unit and details
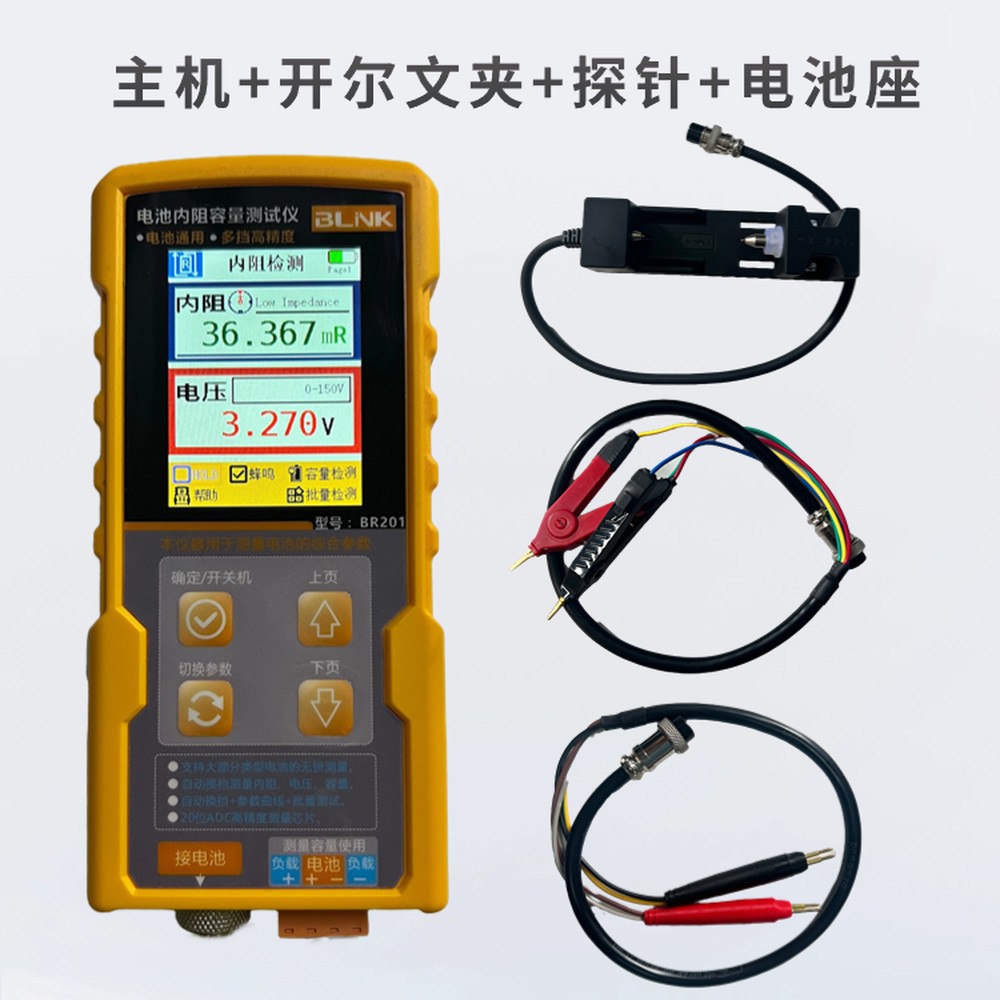
夹具选型
Fixture options
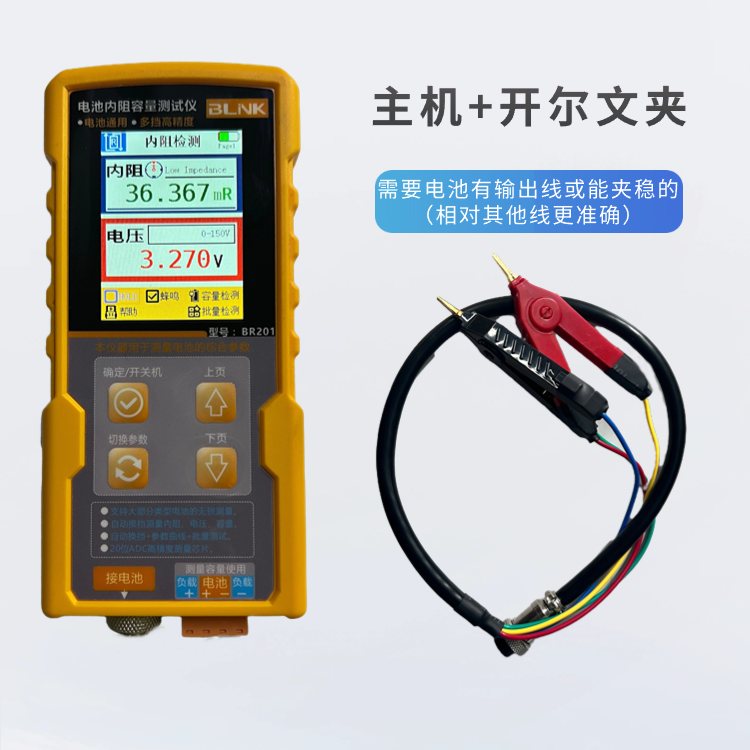
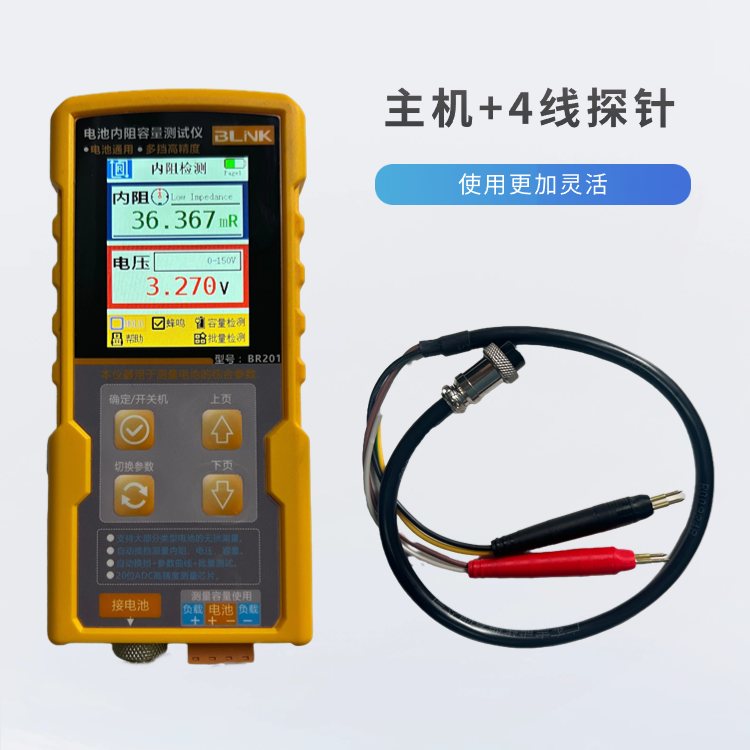
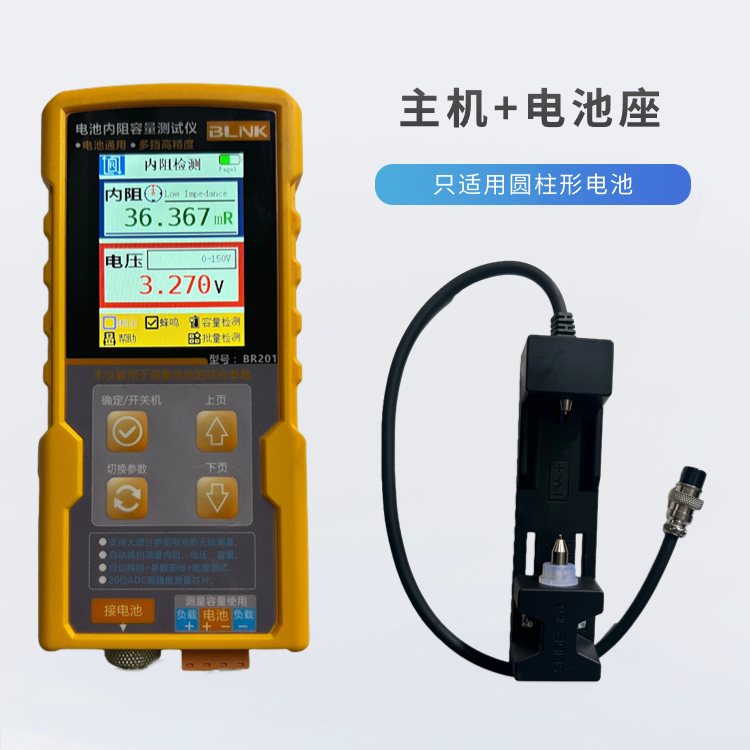
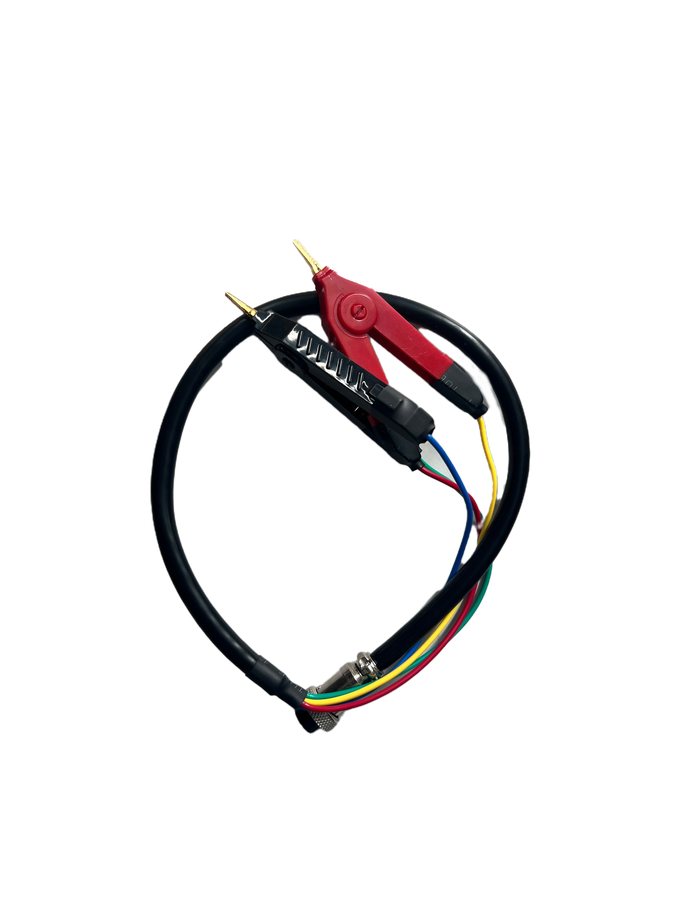
主机标配开尔文夹,可按被测电池形态加配探针或电池座;三种夹具可任意组合选购。
The unit ships with Kelvin clips; add probes or a battery holder to match your cell format. The three fixtures can be combined freely.
操作要点
How it works
测量内阻与电压
Measure IR and voltage
- 选中页面 1(内阻检测)
- 用四线开尔文夹或其他配套夹具接触电池正负极
- 屏幕同时读出电池电压与内阻值;左下角图标显示当前使用的内阻挡位
- Select page 1 (IR measurement)
- Contact the cell terminals with the 4-wire Kelvin clips or another fixture
- The screen shows voltage and IR together; the lower-left icon indicates the active IR range
批量筛选电池
Batch screening
- 选中页面 4(批量检测),勾选筛选内容(内阻或电压)
- 设定「内阻阈值」:结果低于该值为合格电池
- 设定「电压阈值」:结果高于该值为合格电池
- 完成设置后依次接触不同电池,即可快速筛选
- Select page 4 (batch mode) and choose the criteria (IR and/or voltage)
- Set the IR limit: readings below it pass
- Set the voltage limit: readings above it pass
- Touch each cell in turn to screen them quickly
容量测量(充电法 / 放电法)
Capacity test (charge or discharge)
- 选中页面 2(电池容量),先用「数据清零」清除历史数据
- 设置满电阈值与亏电阈值,电池电压须落在两者之间,内部开关才会导通
- 充电法:先放空电池,接上充电电源;放电法:先充满电池,接上负载
- 仪器检测到充放电电流后自动记录容量,数值停止上升即为最终容量
- 可选:用万用表比对电压,在「补偿校准设置」中调整导线补偿阻值消除线阻偏差
- 注意:容量测试务必区分电池正负极,不能接反
- Select page 2 (capacity) and clear history with "data reset"
- Set the full and empty thresholds; the internal switch only closes when voltage sits between them
- Charge method: drain the cell first, then connect a charger. Discharge method: fully charge, then connect a load
- Once charge or discharge current is detected, capacity logs automatically; the final value is where it stops rising
- Optional: compare with a multimeter and trim the lead compensation to remove wiring error
- Note: observe polarity during capacity tests — never reverse the leads
放电负载选型(说明书推荐表)
Discharge load selection (from manual)
放电法测容量需外接大功率可调电阻,一般按 1C 电流放电;功率越大越好。
Discharge testing needs an external high-power adjustable resistor, typically at 1C; higher wattage is better.
| 电池电压Battery voltage | 电池容量Capacity | 推荐电阻Resistor | 推荐功率Power |
|---|---|---|---|
| 0~12V | 0~3Ah | 0~5Ω | 200W |
| 0~12V | 0~50Ah | 0~5Ω | 500W |
| 16~50V | 0~3Ah | 0~10Ω | 500W |
| 0~70V | 0~50Ah | 0~15Ω | 1000W |
数据解读
Reading the data
测量电池内阻可以评估电池性能与健康状态、预测寿命衰退、诊断故障或损坏,并优化使用效率。
Internal resistance reveals cell health, predicts ageing, helps diagnose faults and improves how cells are used.
内阻
Internal resistance
- 内阻低:电流输出能力强、电压稳定,性能较好
- 内阻高:电流输出受限、电压可能不稳,性能较差
- 内阻随时间增加而上升,会导致性能下降与寿命缩短
- Low IR: stronger current delivery and steadier voltage — better condition
- High IR: limited current and unstable voltage — degraded condition
- IR rises over time, reducing performance and service life
容量
Capacity
- 容量越大,存储电荷越多,使用时间相应增加
- 高容量电池更能满足大电流需求,低容量电池在大电流下更快耗尽
- 容量大的电池通常体积和重量也更大
- Higher capacity stores more charge and runs longer
- High-capacity cells handle heavy current better; small ones drain faster
- Larger capacity usually means a bigger, heavier cell
使用注意与保养
Notes and care
- 开尔文夹短接不为 0?两夹直接互夹不算真正短路,应夹在一根很粗的导线上并相互靠近;此时 0.2mΩ 以内属正常,如需更接近 0 可在设置中启用 Amend 与 offset_on
- 参数设置:先按「切换参数」选中修改项,再按「确认键」进入;退出同样要用「切换参数」选中「退出」项
- 修改数值:用「确认键」选中修改位(变红),再用上下键改数值
- 操作时避免接触裸露的电线和连接器,注意电池正负极连接正确
- 定期清洁仪器外壳,避免液体或异物进入内部;本产品提供一年保修
- Kelvin clips not reading zero? Clipping them together is not a true short — clamp both onto one thick wire close together. Within 0.2mΩ is normal; enable Amend and offset_on for near-zero work
- Settings: press "switch parameter" to select an item, then "confirm" to enter; exit the same way via the "exit" item
- Editing values: "confirm" selects the digit (turns red), then use up/down to change it
- Avoid touching bare wires and connectors; always check battery polarity
- Clean the housing regularly and keep liquids out; one-year warranty included